Monday, 4 August 2014

quilt progress #5 - it's ready!


Yes, the quilt is ready! Before I show you the finished state, let me tell you first how I framed it with bias binding cut from the same fabric as the backing. I opted for bias binding because it won't wear out as easily as other edgings.

For bias binding, you need to cut at a 90 degree angle across the straight grain. Put a set square to the fabric's straight edge like in the picture below - the set square's long edge will show you the true bias. I use a long ruler to draw up the binding strips. To bind a 1 cm edge you will need to cut a 4 cm wide bias strip = 1 cm times two plus 1 cm seam allowance at both edges.

I needed around 4 and a half metres of bias binding, so I planned for 5 meters to be generous. Of course none of the strips cut would be as long as that. It doesn't matter, because it's really easy to join up bias strips - the only rule is that you need to sew them together at an angle, like so:
 

Once I had my bias strips ready, I first spent some time basting the edges of the quilt to prepare for sewing. You don't necessarily have to do this; the quilting stitches should hold everything together. The reason I basted was because my charms ended up on the bias at the edges of the quilt which makes the fabric stretchy, and I wanted no chance of distortion during sewing. Once all was secure, I pinned on the bias binding and stitched it on.

 
Usually you'd want to have a nice machined seam to show at the front, and then a hand-finished edge (or a very precise machined edge) on the back. 

After unpicking three times, I decided that I'll have to do it the other way around. My difficulty was that I wanted the binding to join exactly to the tip of the nice squares along the front, but I'd always end up sewing slightly over or under it... 

So I machined on the back and then proceeded to hand-finish at the front, in order to be super exact about where the points and edges met. I got on with the hand-sewing phase while watching old Miss Finland competitions from the 1950s and 60s on TV.
 

I need to mention that I cannot do a proper mitred corner to save my life. I struggled with it long enough by now trying to understand the actual technique to no avail, so I just made up my own solution.

I bound the blanket's shorter edges first. Then did the longer edges, leaving the joining 1 cm unstitched at each corner. Then just folded and tucked and hand-stitched until they looked like mitred corners. I'm sure it doesn't fool the pros but it looks good enough to me.


So, after 3-4 months of labour of love, this first quilt for our first baby is finally ready!

Sunday, 3 August 2014

a much needed zippered pouch


You're probably familiar with the scenario - for the 'you never know' moments you keep all sorts of 'just in case' items in your handbag. It's the sensible thing to do. But in my experience, these things knock around in there loose for so long that by the time they are needed, they've become unusable... dirty, broken or even lost.

Finally I got around to answer this issue: I made a wipe-clean pouch that zips up, holding all the small essentials in one place. Now my emergency pills, pads and the like can enjoy their own compartment in the mess of my everyday handbag.

I made it out of a piece of waxed tablecloth, and lined it in some scraps from the fabric cupboard. I've added a key ring too, for my bicycle key.


So that's another item to cross off the list!


Monday, 28 July 2014

a sunny garden update


I promised a daytime update from the balcony in the previous gardening post, so here is a little report from the sunny side of our modestly sized outdoor space.

It's not been too difficult to take sunny pictures at all - it's been super hot ever since! It's great to see the plants enjoying the weather, sometimes in the company of laundry put out to air dry. But when the heat gets too much, the watering can is their best friend.


There are a few things that have started flowering which makes me very happy, even if the flowers are just little specks of white almost lost in a lot of greenery. The umbrellas of the coriander are so dainty, and it's great to see lots of flowers under the canopy of the bush beans.

 
In fact, the beans caught up so well that two days after feeding them with a little liquid organic fertilizer they started turning their blossoms into tiny pods. It looks like we are going to have something edible there soon!
 
The chards on the other hand are not doing so well... They are trying to catch up, having been transplanted into big pots from their eggbox seedbeds, but something is eating them...

 
After taking the photo, I have nipped off all the suffering leaves in hope that the new ones in the middle might do better. I have to admit I'm a tad pessimistic about them providing smoothie-worthy greens any time soon, but let's see what happens.

According to the forecast the summer weather is continuing, which is great news. However, the often promised spots of thunder and rain seems to avoid us. It'd be nice if the looming, rumbling clouds rained down to relieve the heatwave, but so far they've just been teasing us both - people and thirsty plants.

 
The green and white life on the balcony will soon be joined by pretty yellow petals - the sedum is to open its starlets any day now, and the sunflowers are looking to be next.


Friday, 25 July 2014

cottage rose Pyrex and a jadeite bowl

I had something else lined up for this Friday's post, but because a thrifting trip a couple of days ago yielded some excellent finds, I've been itching to show them off first.


It feels like I haven't added to our Pyrex collection for quite a while - not counting the little French bowl. Good Pyrex dishes don't seem to turn up on the shelves in such numbers and as often as they used to.

To my surprise this very handsome tall Pyrex casserole in superb condition was right there for me to have. Out of all the rose patterns this one is the one I like most, because of the colours. And as soon as I saw it, I was thinking beef bourguignon! Not now in this heatwave though, but in the winter of course...

I'd love to find a lid for it next.


There was also something placed inside the big casserole dish, made of pale green milk glass, that made me first frown then smile in disbelief. I thought to myself: could it be? and turned the bowl to see the bottom. And yes it was! A Fire King jadeite bowl!

I've been reading about Fire King finds and seeing jadeite bowls on American blogs for a long time now, and I can't tell you how many times I commented that Fire King seems so rare in this part of the world, and I've never come across any... Well, now I can say that despite it being seemingly rare here I caught one too, and it only cost a single euro to boot.

There's something very elegant and beautiful about it - I can see how it became so lusted after over the pond. It really looks stunning on a sunny day with strawberries in it, I'll need to photograph it sometime.


Monday, 21 July 2014

mama dress untangled - and wrapped up

Not every project can and will go the way you think it will, not every time. As a 'sewist' and a crafter, and an average human being, I know this.

This mama dress was one of those projects, that no matter what, it just seemed destined not to work out.

It had an ominous looking start to begin with, that pattern was crazy. I just didn't want to see it that way. Even my generally supportive boyfriend seemed to be questioning my sanity upon my determination about unscrambling that pattern from the magazine...I know some of you were quite surprised at me too.

So what went wrong?

Well, as soon as I could try it on with shoulders and sides stitched together, it was very obvious that this dress was never going to make me a happy person. I still went on hoping that eventually it will, changing the pattern a bit, leaving off the collar, then the sleeves...but it just didn't want to happen.


Despite how it looks on the hanger, it's billowy and sack-like and makes my body appear like a fat ghost. Now when I look again at the magazine's version of it, even the other model seems to know this. She is obviously cracking up about the pregnant model's barrel-in-a-sack look... I just didn't wan't to see it before.


I've made this dress up in the wrong colour. What was I thinking when I thrifted a white Ikea duvet cover for it - white makes everything seem bigger, be it tiny rooms or no-more-waist pregnant torsos.

This dress just mercilessly swamps me and makes me feel 30 years older.
So with a shrug of the shoulders, I wrapped up the project unfinished and put it into the bin. I feel so much better now!

Friday, 18 July 2014

mr & mrs eggcup

Maybe about a year ago I saw dashing Mister Pepper and dainty Mrs Salt Eggcup somewhere online, quite possibly on an American thrifty blog. I remember having a heart-throb moment then too - just like when I spotted them in my local Red Cross store the other day.  I love the quirky idea of them but most of all the style of illustration and the colours.

They are from the 1960s, they were made in Japan and all I had to part with for my pair was seventy-five cents. I didn't realize before getting to the checkout that there was -50% on all kitchenware and bric-a-brac that day. Half off is always double the thrifty luck!


Wednesday, 16 July 2014

quilt in progress #4

 
Having completed sewing together all of the patchwork I can now show you what the quilt is going to look like. Pinning it on the wall was the best way to show it off. The more I looked at it the more convinced I was about calling it a kaleidoscope quilt!

After a little more gazing, I thought it was best to get on with the next step of sewing. Namely, to cut the backing, sandwich the wadding, and then roll up the sleeves for stitching in the ditch! 

 For the wadding I chose a 100g thickness - not too thick, not too thin. For the backing I thrifted an Ikea hippo fabric (child's duvet cover). It had a small stained area, and it was a little short for the quilt's size, so I cut it up to exclude the stains and extend the length with a strip at each end. Some of the hippos ended up with two butts and too many legs, but it still works.

After giving some thought to how the quilting should be done, I got out my big box of pins and got pinning. If you can get specific pins with stoppers meant for quilting, I recommend you to do so - you won't end up with cat scratches all over your arms like I did.

Mind you, during my three years of fashion university I developed a detached immunity to pinpricks and a sixth sense for loose or dropping pins. It's highly advisable not to have any cups of teas or coffees knocking around at this pins-in sewing stage - pins can end up everywhere when you are busy, including your drink, your slippers or even your bra. I'm talking from experience!

 
The idea about this many pins is that you catch all three layers of your quilt together - patchwork, wadding and backing - and pin down both sides along your planned sewing path. 

My plan for a sewing path was decided over a few days, by doodling ideas onto an envelope: the one I went with is the little scribble in the lower right corner.


I sewed with plain white cotton at the front, but for the bobbin I picked a thread in a very pale yellow hue. It blended better with both white and lime green bits.

 
I found stitching in the ditch quite tricky and demanding. I tried machining in short controlled bursts, tried slow and steady, tried holding and guiding the fabric in different ways - I still ended up with more of a stitch in-and-out of the ditch look instead of a very pro one. 

It went a little easier near the end, but I don't feel like I figured it out at all. The result looks good enough though, the padding puffs out nicely as it's meant to, so i'm not disappointed in my effort.


I have one more post about the progress of my first-ever quilt, about attaching the binding - and then it's ready!

Monday, 14 July 2014

why do i make & write - my process, and a blog hop


With the blog turning two years old I've been reading old posts, mulling over why and how this little space started out... So when Bee invited me to take part in a blog hop to share about my creative process, it felt very timely.

Bee writes her blog The Linen Cloud from Northern Ireland - I started following her to have a little bit of countryside living in my small towner life. The title of her blog makes me think of fresh laundry billowing in the wind like big clouds of linen. Pay her a visit and take a virtual stroll in her beautiful garden!

As part of the blog hop, I was asked to answer some questions about how I create. I hope you'll enjoy a little insight into how my creative cogs work.

What am I working on?

Right now I'm working through my year's to-do list, while counting down the weeks to the birth of our first baby. I'm halfway through sewing a maternity dress and next on the list is a hanging organizer for baby's tiny wardrobe. I'm leaning towards buying that one instead of making my own from scratch - the list is long and time feels short before it's all about breastfeeding and nappy laundering...


How does my work differ from others' in its genre?

Idle Needle is mainly a personal blog with a crafting, thrifting and home-making interest. A sort-of flexible journal of what I'm into and what I do, and it's my little corner of the world wide web.

In terms of what I make with my hands - I do so many different 'genres' of crafting and making, maybe it all differs from others' because I haven't found my focus yet. I'm still trying to feel out what I should do with the creative itch in me, searching for my true direction. Everything I make is part of that search.


Why do I create what I do?

My creative outlets - taking pictures, writing, sewing - have been with me on and off since childhood. There are drawings, diaries, out-of-focus black&white photos, fancy dress costumes and the like from when I was a kid; and if I didn't throw most of it out in a pith of teenage angst there'd be journals and poems and more drawings from my teen years. And some DIY goth outfits too, lest I forget...

I write my blog to follow my various interests. For one, I write about junk-store finds - their beauty or quirkiness, their researchable or imagined history excites me. It's nice to have a place to share the passion with others.

I also feel the need to record my crafty endeavors. Keeping a blog motivates me to organize and simplify my ideas to get to the finished stage. I used to be terrible with finishing projects, always procrastinating and over-complicating. The blog really helps me to rise beyond that tendency.


How does my creative process work?

My creative process is like a crazy scribble that buzzes all the time and needs calming, sorting and straightening out into a focal point. I guess it could be called a process of simplifying chaos. It's true of both my craft projects and my blog writing.

I write drafts of blog posts as I think - rambling, with too many words and too many tangents. I press save, then edit everything down later. Sometimes I ask my boyfriend to proofread - he's a huge help by being honest but kind.

For my making I get inspired by nature, treasured memories, art, thrifty resourcefulness and what I see around myself... Ideas spring up in my mind every day, stemming and sprouting new ones, better ones, distracting ones, filling various notebooks, lists and scraps of paper. The blog being a good discipliner, it forces me to think in a short time bracket and buckle down to making.

Considering the big picture, I'd love to commit to the one discipline and really apply myself!


So that's about me - let's pass the baton on to two creative ladies who make and also blog.

Evdokia lives in beautiful Greece and posts about her craft and inspirations on her blog have a ko(o)kie. She makes gorgeous little brooches of ceramics and wood, but her latest creation was in textile -a bunny with dangly ears and legs. Her yard is always full of kittens and she has good movie recommendations!

Lisa from Big Little gives a new lease of life to thrifted wool blankets as pixie hats, coats and booties - recently she had a new boot design that made me swoon. Her embroidery is delicate and nature inspired. She lives in a many-tiered tree house in the rain forest in New Zealand.

Do hop over to say hello to both girls and spy what they are up to! In a week's time it's Evdokia's and Lisa's turn to share about their creative process.

Thanks again Bee for inviting me to blog hop - it's been fun!

Wednesday, 9 July 2014

mini bunting for a penpal


It fills me with so much good feeling when I find a quick useful way to use up the bits and bobs around the craft table and the home that otherwise would need to go to the bin. It's painful to throw out pieces of nice vintage fabric or good bits of paper - even if in the name of clutter- and hoarding-prevention...

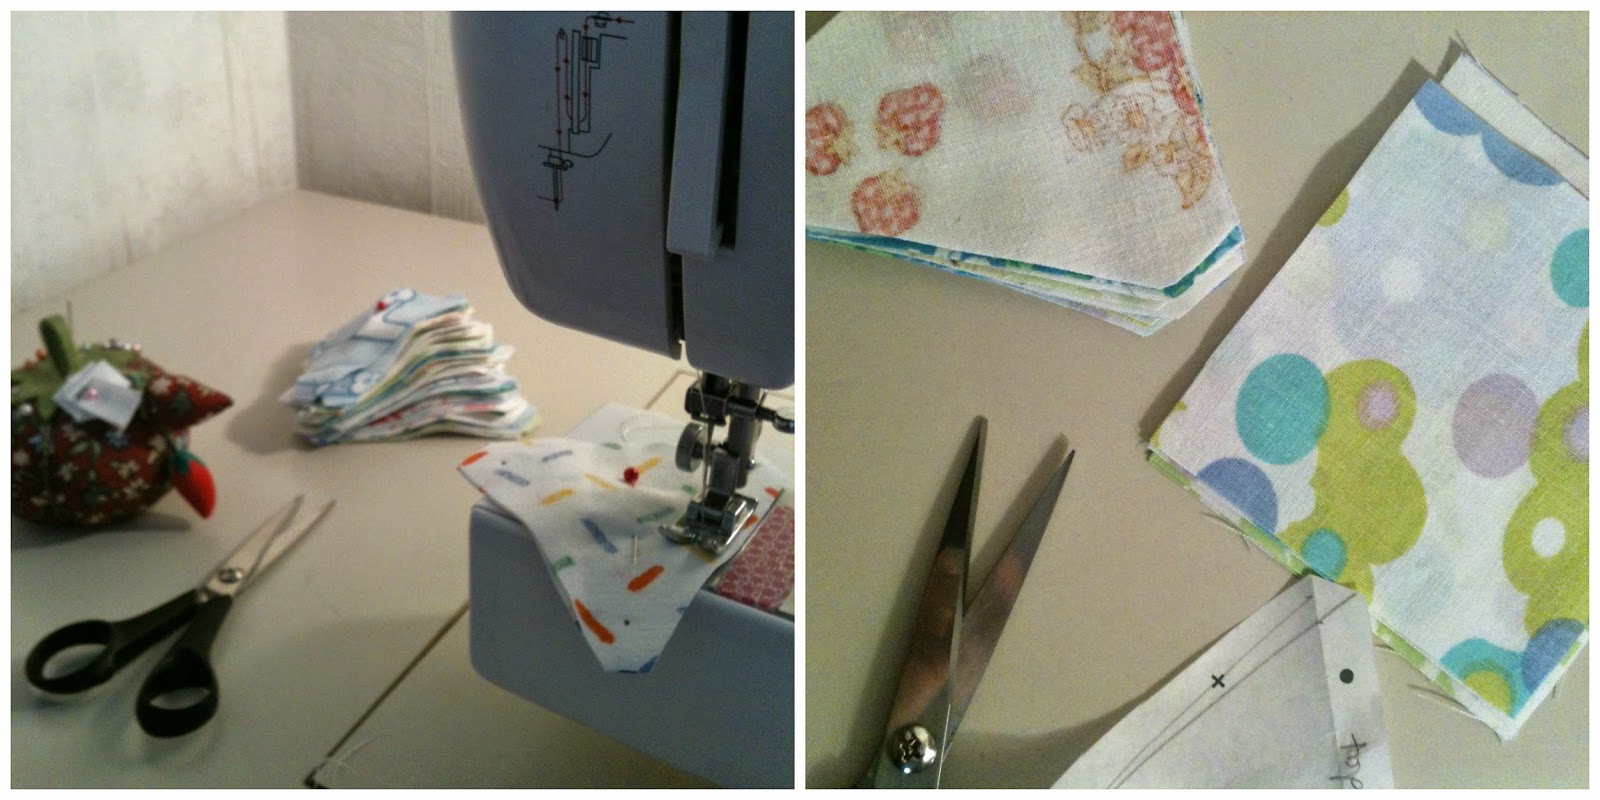
So when I found out that a penpal was also having a baby, I thought I'd make her a little bunting out of the surplus charms and off-cuts of the vintage fabrics that were left over from my baby quilt. I made the little pennants double sided, so she can hang the bunting up not just on the wall but in a window or in a door frame too.

 
It will be sent on its way soon - in an envelope fashioned from the nice thick pages of a graphic design magazine we didn't want knocking around anymore...

Snail mailing and crafty upcycling - a very happy combination in my book!

Related Posts Plugin for WordPress, Blogger...